Albums Made Easy Monday

Monday, February 24, 2014

Hello friends. Thanks for joining me for another Albums Made Easy Monday. Today I have 2 new tips to share with you. Last week we talked about using the 3x4 punch to make your own AME inserts. 

Here's where we left off.


 photo AMEFeb17-1.jpg


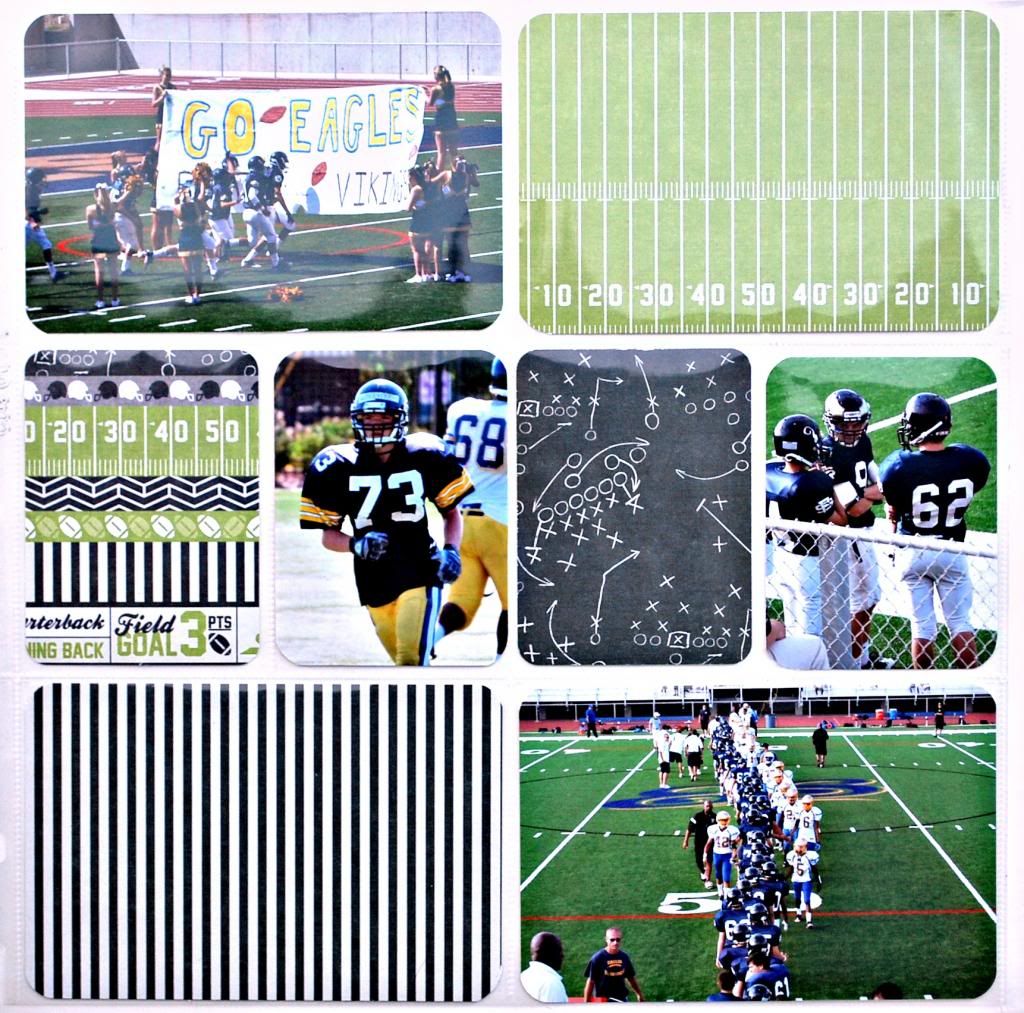
And here's the finished layout 


 photo AMEFeb24.jpg

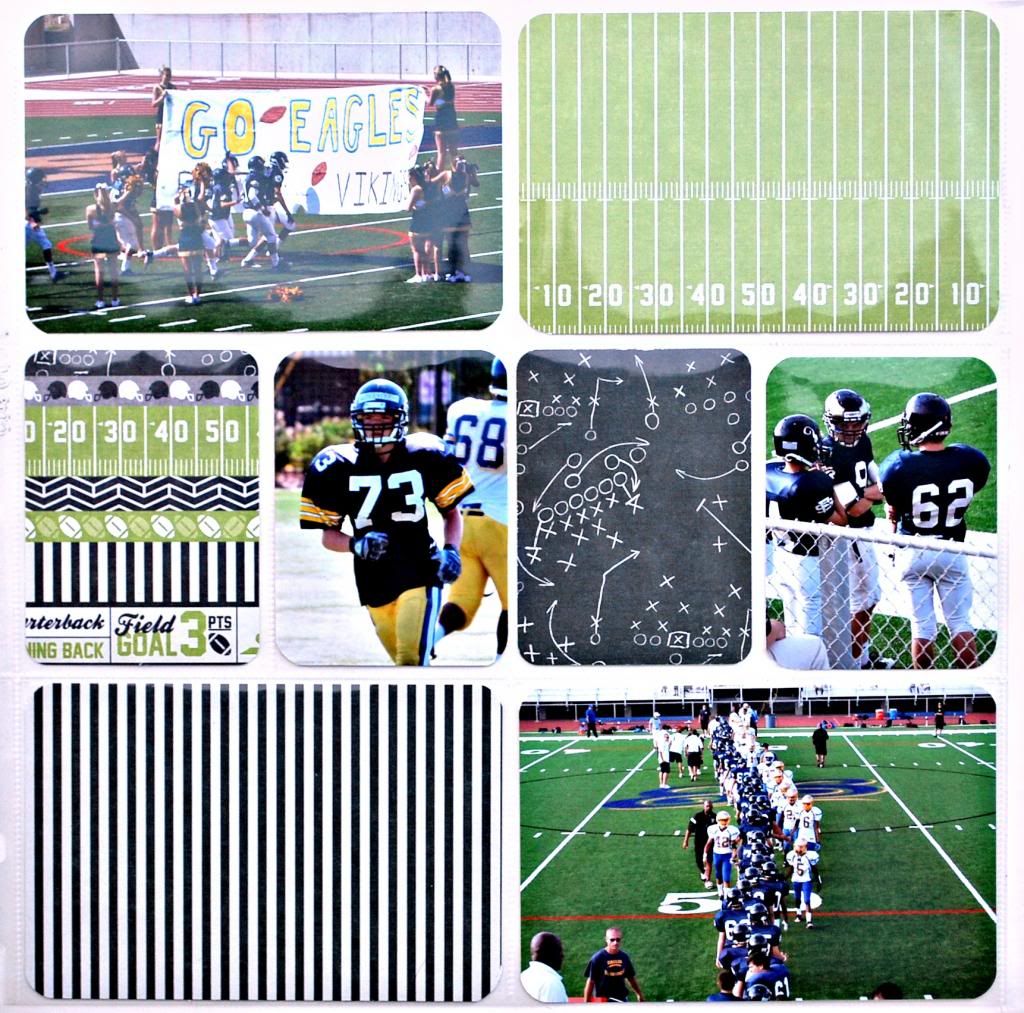
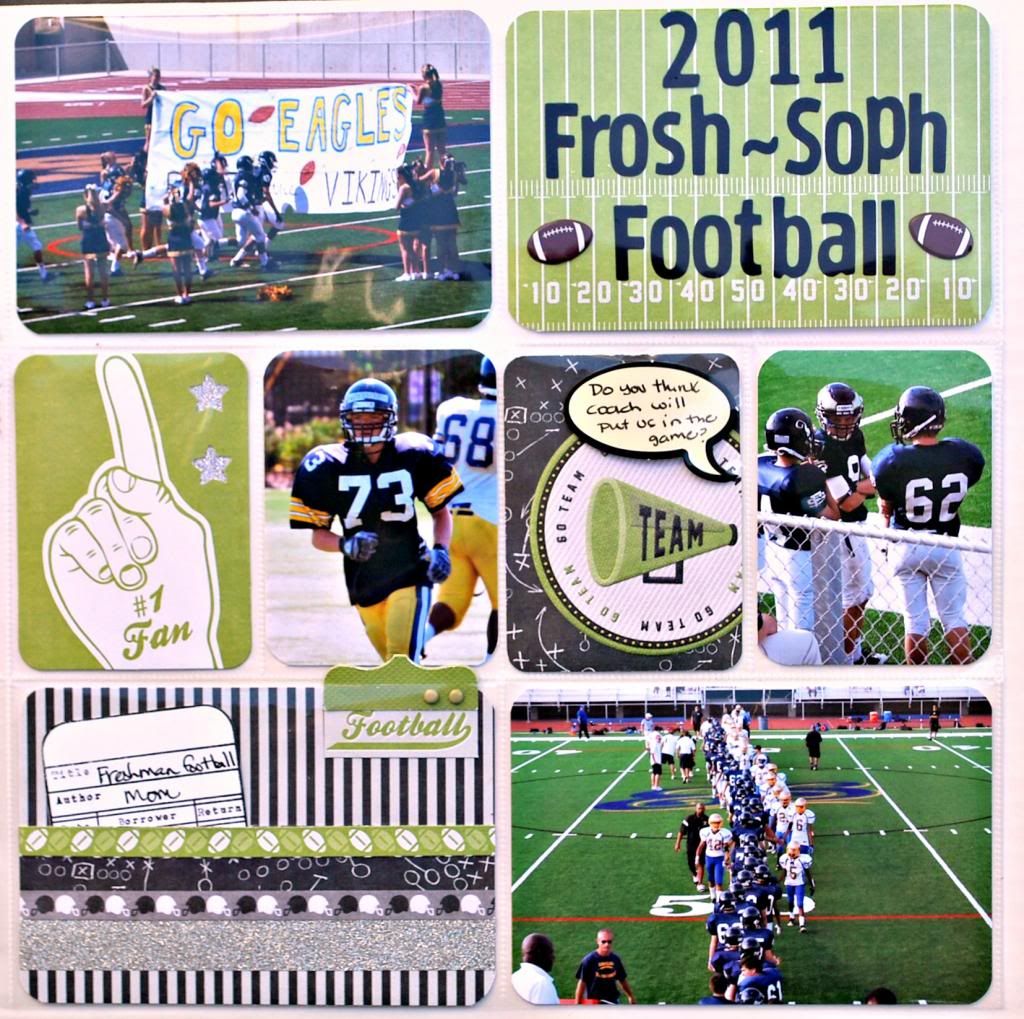
I ended up switching out the left 3x4 card and used a few coordinating embellishments from the Game Day collection and some fun football brads from Eyelet Outlet to finish my page. I also used the We R label punch.

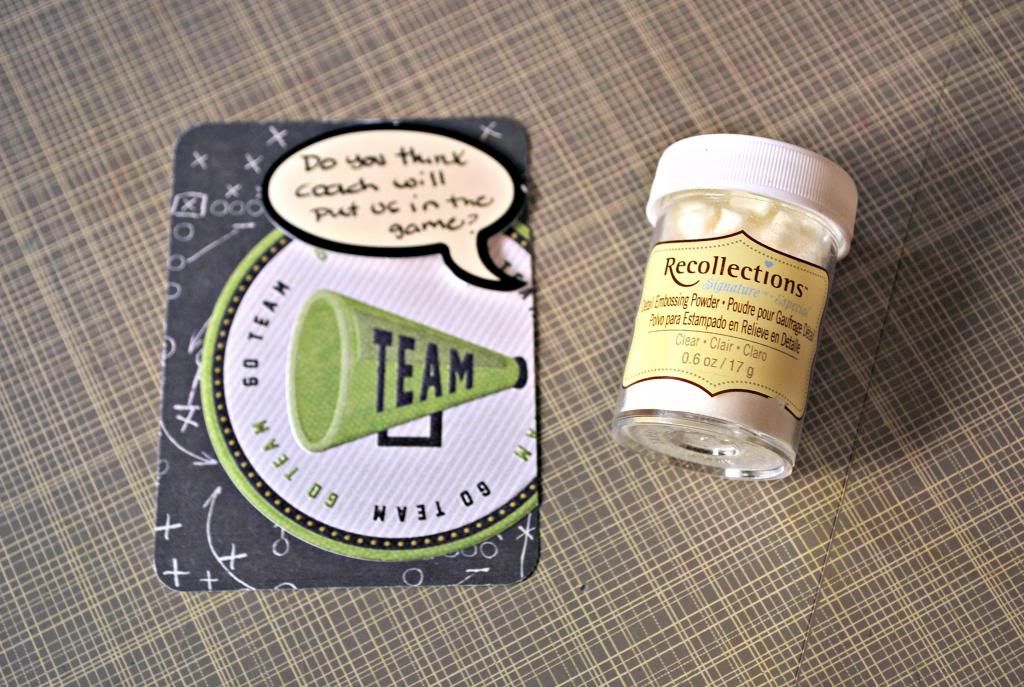
My first tip is for using die cuts or embellishments that have a shiny texture like the thought bubble I used above. How many times do you go to journal in them and the ink doesn't dry and you smear it? I do know that Sharpie also has fine point markers but sometimes you don't have one on hand. Since I typically use the ZIG Millenium .08 to journal with I found that if you sprinkle clear embossing powder over the ink and heat emboss it your problem is solved.

 photo AMEFeb24a.jpg

Now onto tip #2
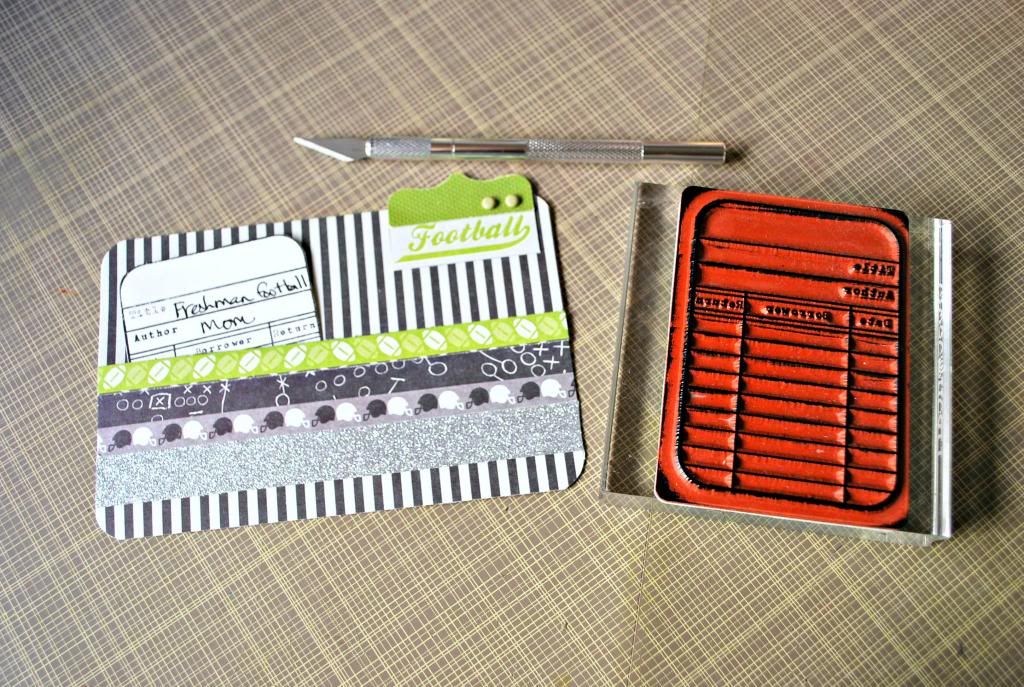
I don't always like my journaling to be visible in my layouts so I try to find clever ways to hide it. Here's a tip for hiding your journaling on a 4x6 AME insert.

 photo AMEFeb24b.jpg

I created several layers, including some glitter tape to enhance my insert. Then I used a craft knife to cut a slit just about the green football strips that would fit my Unity Stamp Co. Library card image.

Then I journaled on the card and slid it into the insert so that only the top is showing.

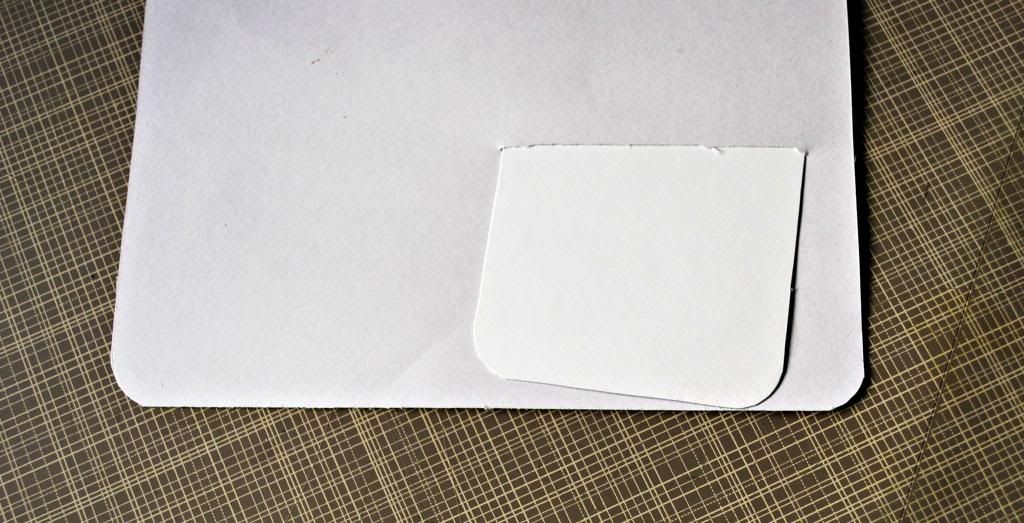
 photo AMEFeb24c.jpg

Here's a view of the back.

Now for last week's winner of the Game Day sample pack!

Regina Hamilton said...
I've been thinking about these albums for awhile, but never purchased them. I really need to give theses a try, maybe then I'll get some of my pictures out of the boxes their in.
Stamp of the Week Sunday

Sunday, February 23, 2014

Hello friends! I hope you are having a wonderful weekend so far. I had a great time cropping it up last night at Custom Impressions in It's time for another Unity Stamp of the Week reveal. 


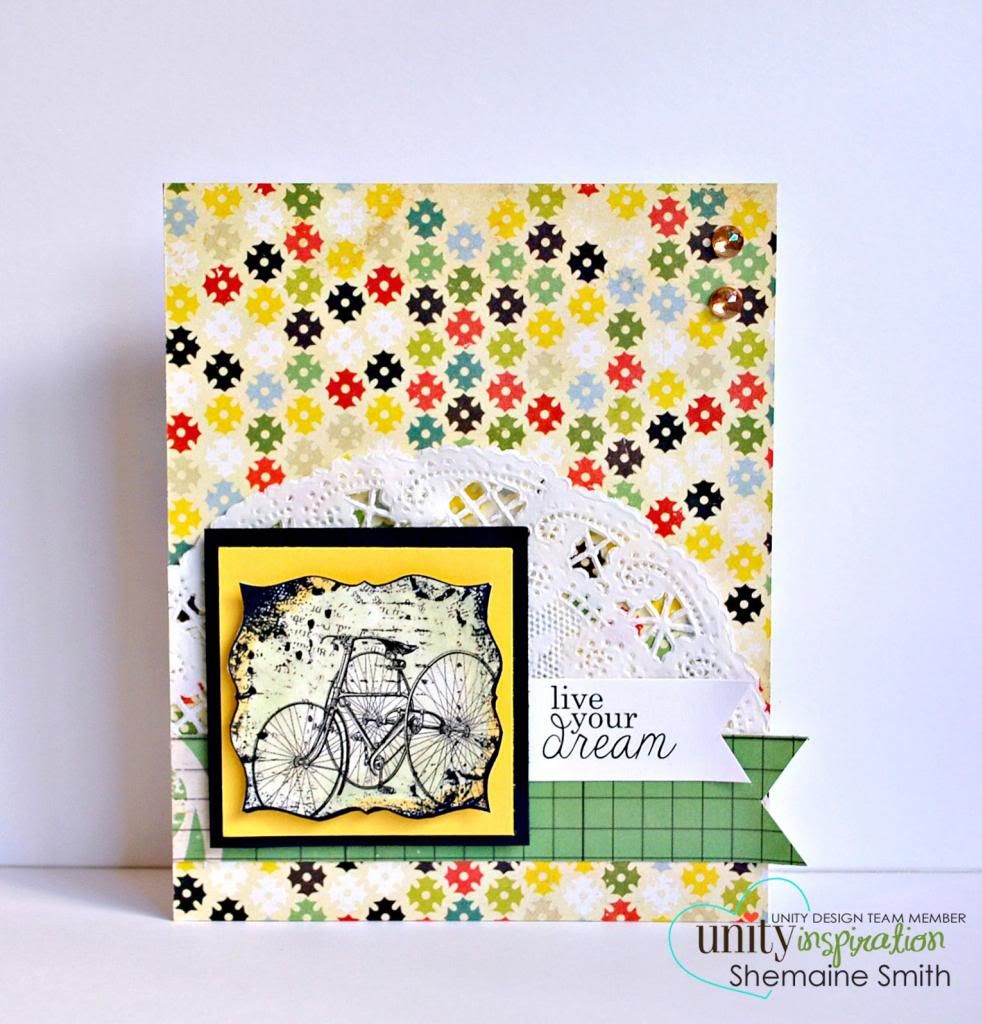
Live your Dream

Here's a sample I created to share.

 photo SOTW112UW.jpg


For more creative inspiration make sure you visit Unity's Stamp of the Week Pin Board over at Unity's Pinterest page.  Now you only have one week to claim this cuteness for your own. 
Hurry over to this page to find out how you can sign up to have some Unity Happy Mail in your mailbox each week!


I hope you find something crafty to do today!

Thank you for stopping by.

{S}

More Unity love

Saturday, February 22, 2014

Good morning friends. Ahhh the weekend, so glad it's here! Today I am sharing another card I made with one of the Itty Bitty sale items at Unity Stamp Co. These prices are good thru Monday at midnight so don't miss out!


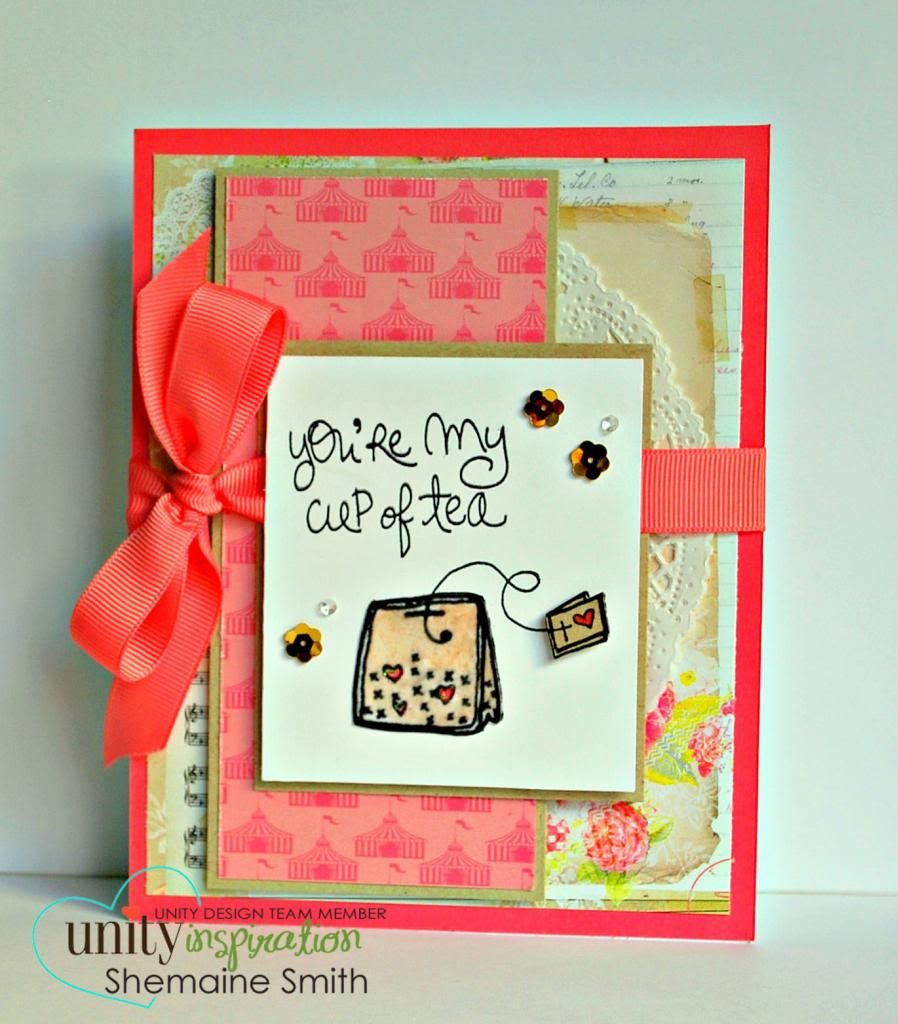
I used the Cup of Tea image.


 photo CupofTeaUW.jpg

Not sure you can tell but I stamped the teabag image on vellum paper and them colored it with Copics. It really distorted the vellum in the way the copic marker dried. I probably would not do that again but rather use a cream piece of vellum instead. Grafix makes a great pad of multiple colored vellum sheets and they take embossing well without buckling.

I am off to craft for the day with some sweet girls in Bellflower for the day.

I hope you get to do something creative today!


{S}

Unity Thursday!

Thursday, February 20, 2014

Hello Unity friends. You've reached the end of today's inspirational hop. I hope you enjoyed a peek at what everyone at Unity created just for you today! We've got some great promotions going on today so make sure you visit Unity's page to see everything.

 Here's a recap:


and 


Today Angela is releasing the images in the banner above as Itty Bitty's!


Since these little beauties are all the rage today and only $3.16 each! 

I had to share some inspiration with this cutie

 photo 2-20UTUW.jpg

Supplies: Basic Grey's Fresh cuts collection from The February Simon Says Stamp Card kit, Embellie is from Freckled Fawns OhDeerMe kit. Copic markers R35 and C1.


Thanks so much for joining us today!

Have a Creative Day!

{S}

A look at the Grace collection by Anna Griffin

Wednesday, February 19, 2014

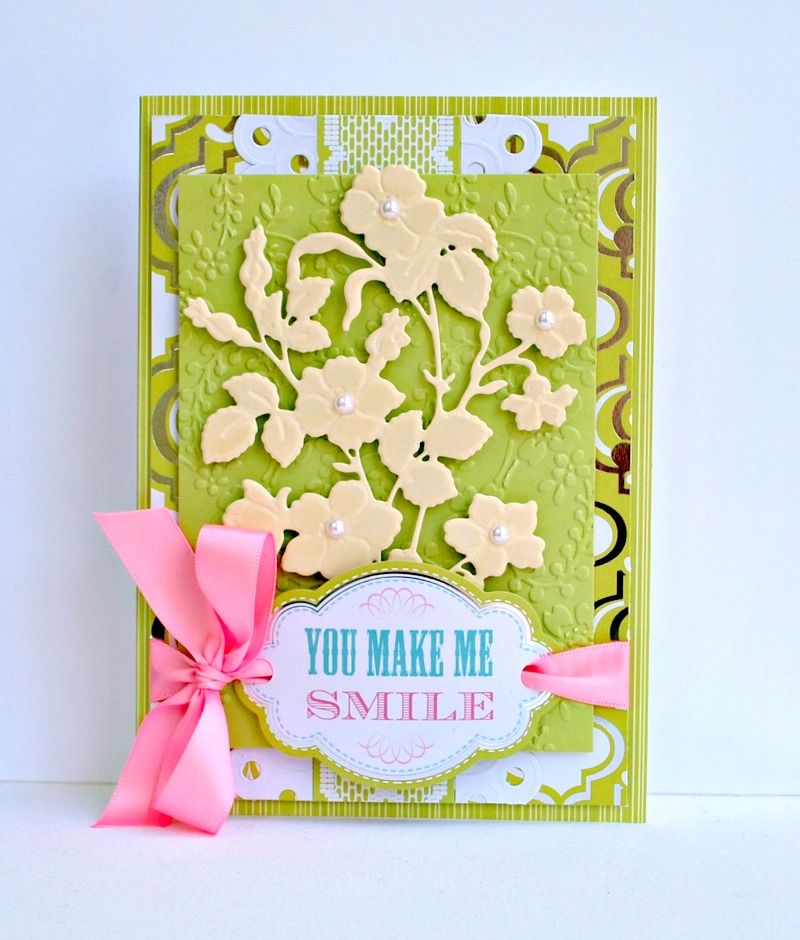
There are so many exciting things coming in 2014 from Anna Griffin. If you missed her big Cricut explore launch on HSN last week, you can view it here. I still have some projects I have been meaning to share from the 20th Anniversary show that aired in January. Anna featured her newest collection...
{Anna Griffin Grace Papercrafting collection}

 {photo credit: HSN}

Here are a few samples I created with this beautiful collection.

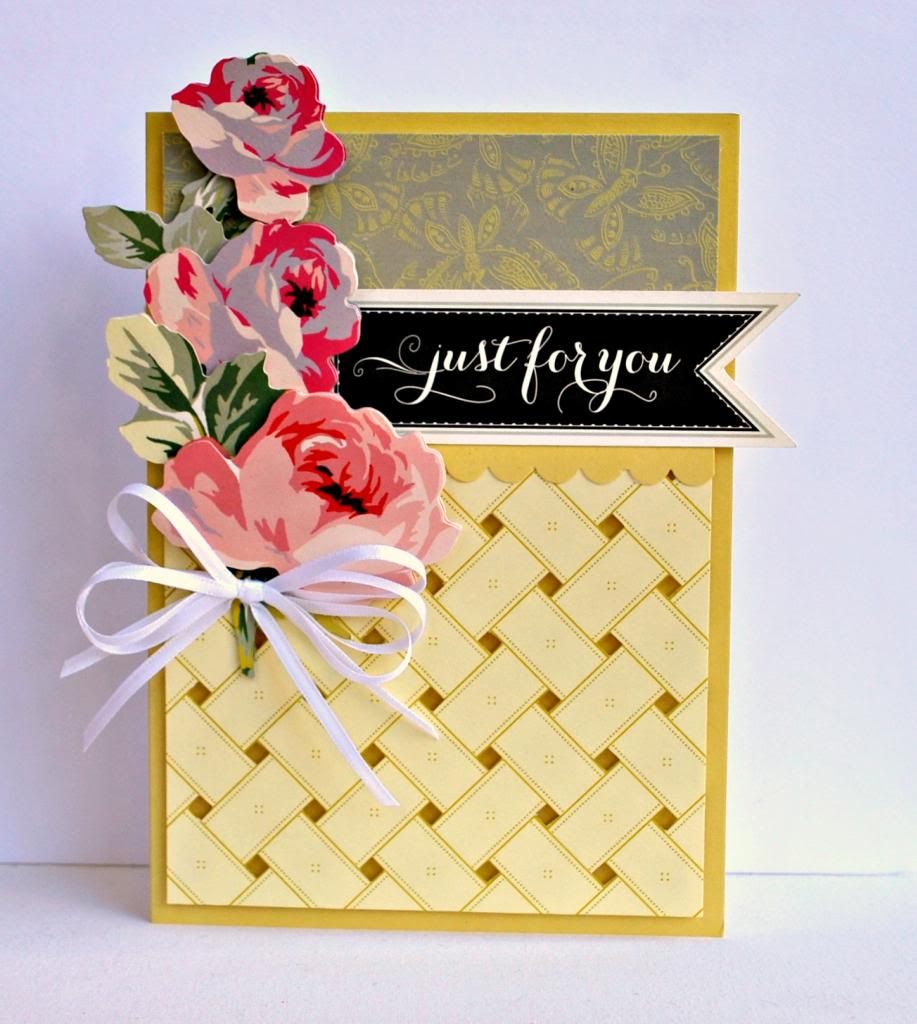
Just for you

 photo ShemaineGrace1.jpg

This basket weaved pattern was easy to take a craft knife to so that I could fussy cut it. It took about 10 minutes to cut out each hole but once that was done, the card was quick to come together.
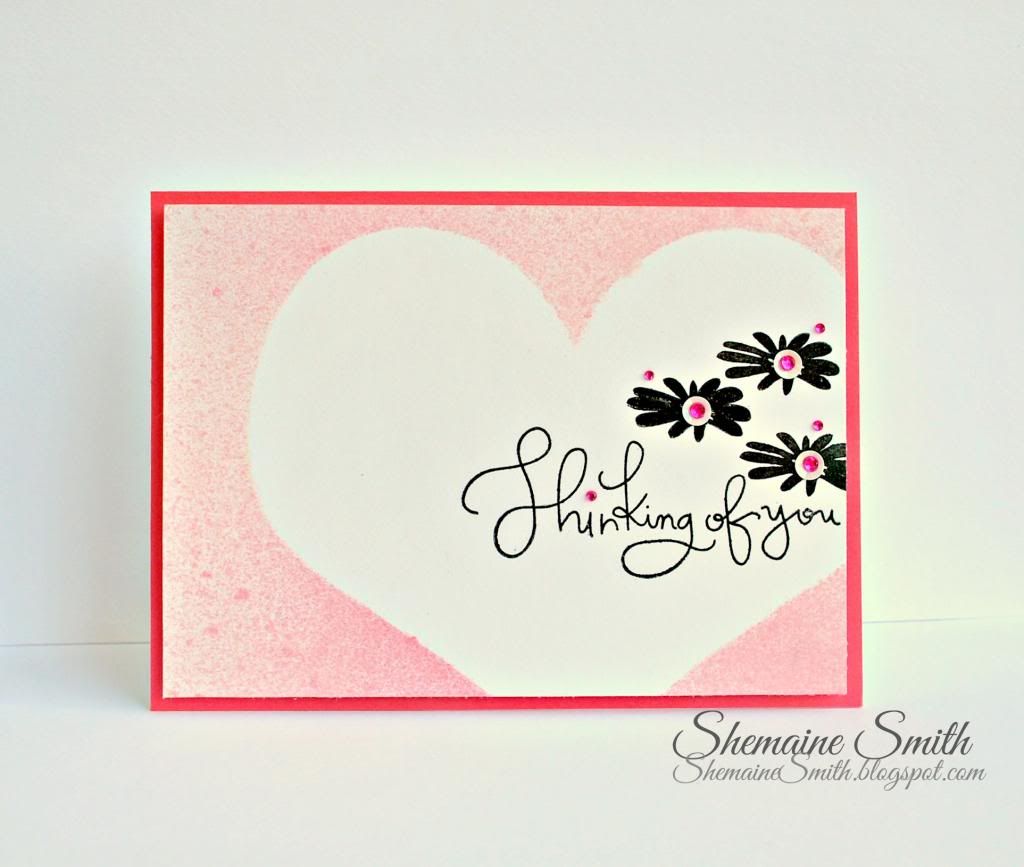

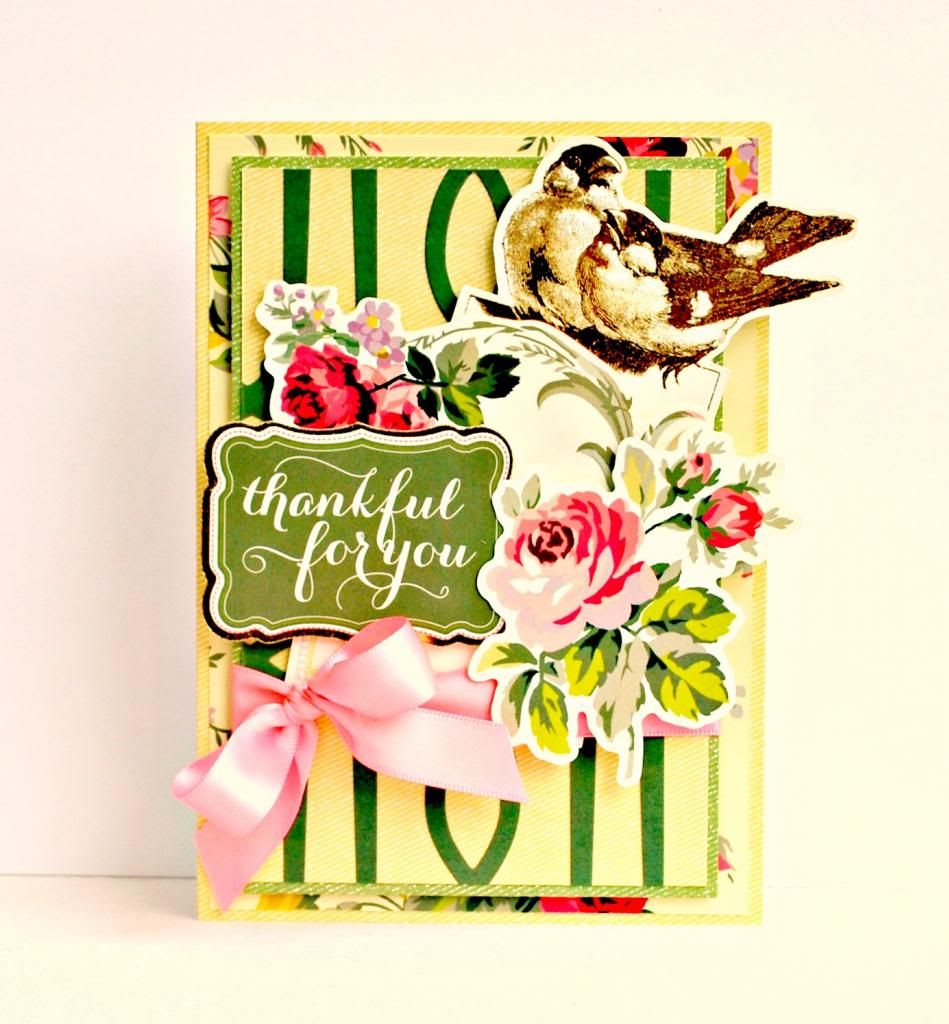
Thankful for you

 photo ShemaineGrace2.jpg

It's easy to use the die cut pages for cards when you layer them over cardstock. Just cut them down to the size you need for your card and use pop dots to affix them to the card base. You wouldn't believe how much 3D foam I use on my Anna assignments.

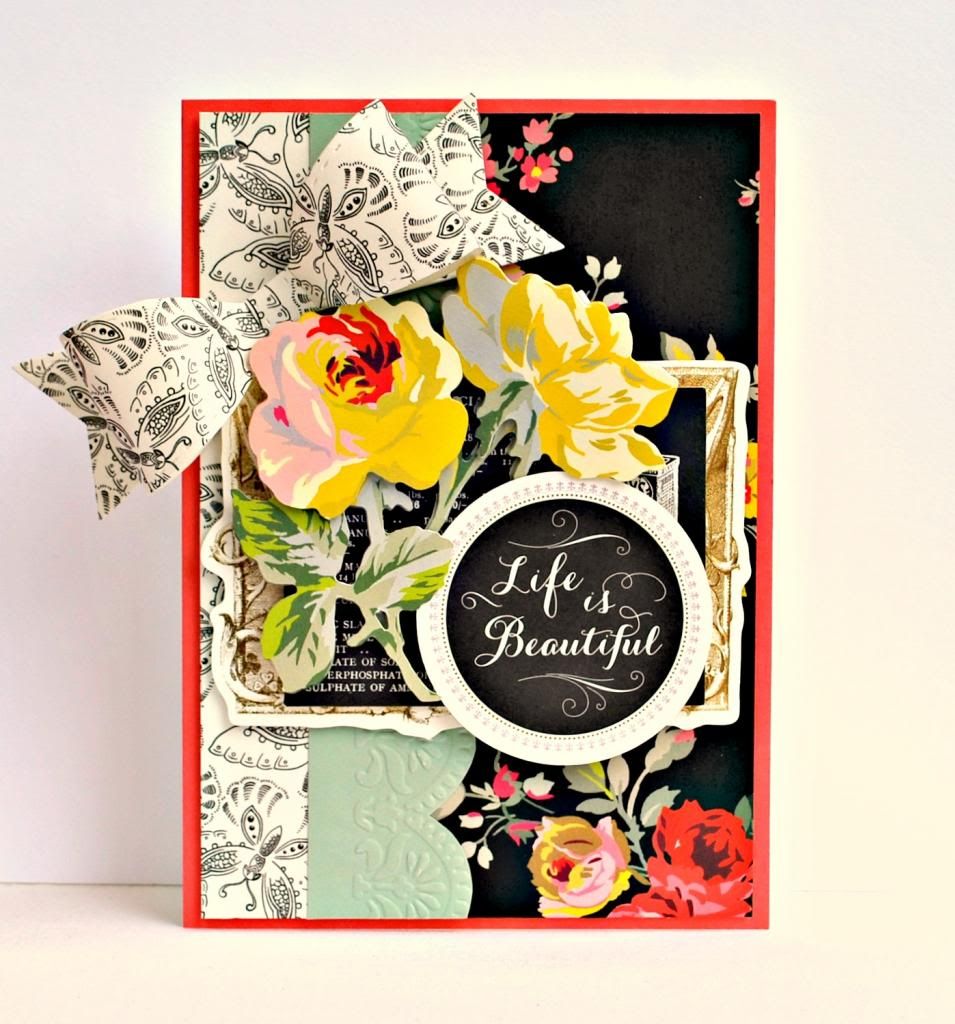
Life is beautiful

 photo ShemaineGrace3.jpg


I love the pop of yellow amongst the black and white. The large bow die is from Lil Inker designs. Love them!

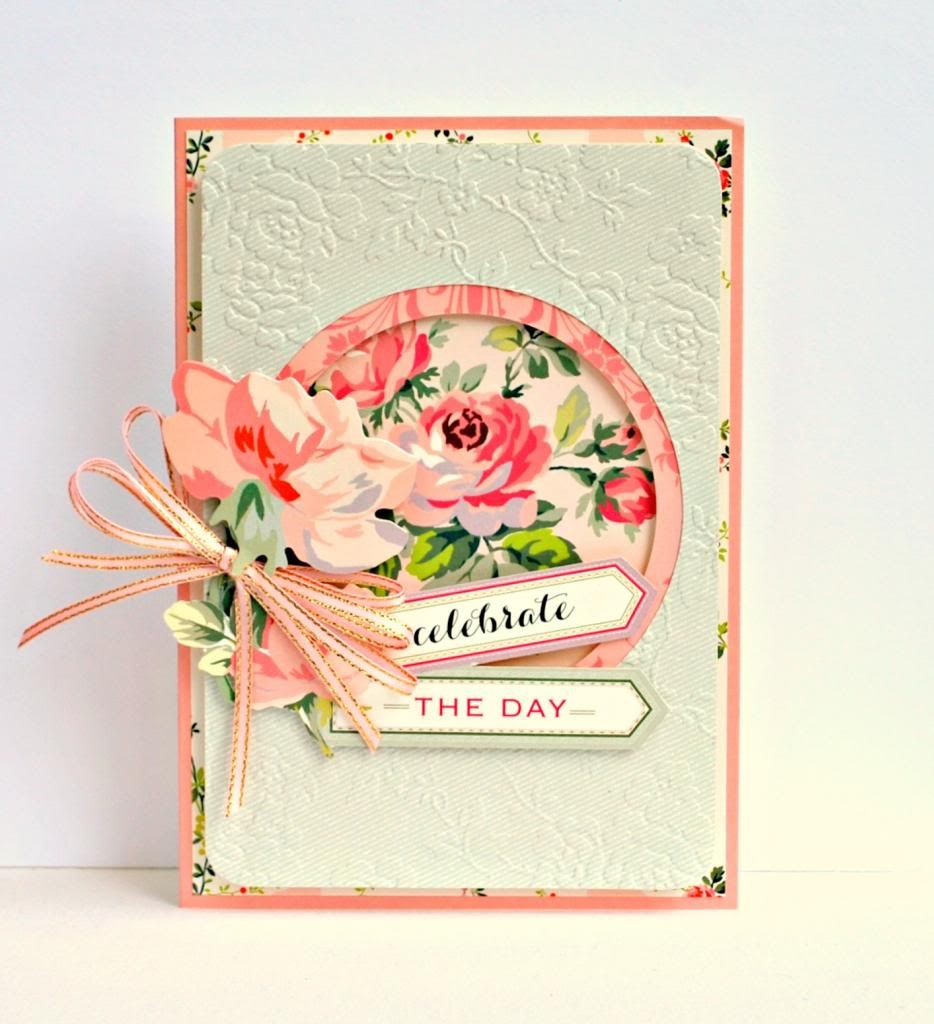
Celebrate the day

 photo ShemaineGrace4.jpg


For this card I used the pattern paper as wall paper and cut a window using Spellbinders dies. The perfect palette cardstock was a perfect pair for this pattern. I also used Anna's Rosa Cuttlebug embossing folder.

You can find this beautiful collection at HSN.

Have a creative day!

{S}

Creating for Fun Tuesdays

Tuesday, February 18, 2014

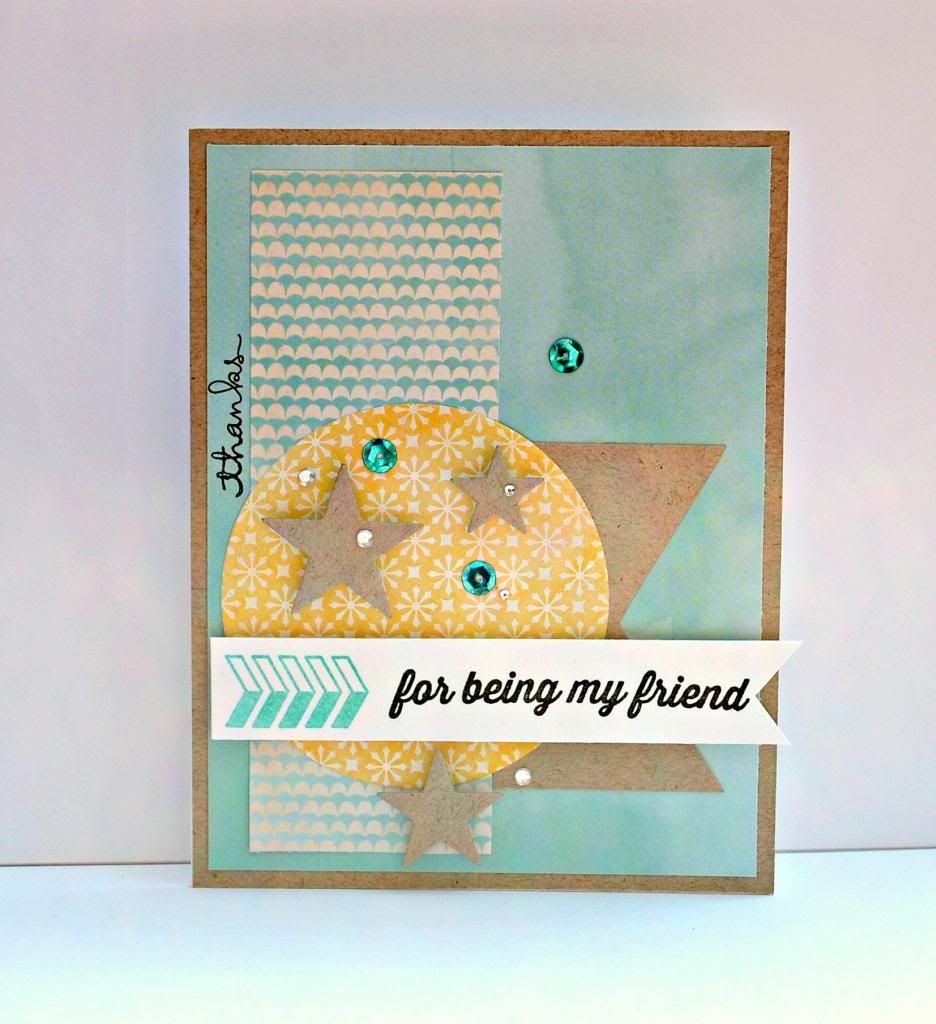
Hello friends. This week's creating for fun cards are for two challenges over at the My Favorite Things blog. First up is a card I created for the February color challenge. Here is the palette for Challenge #2


Here's my take on the challenge. My colors aren't as bold but I like the softer colors.


 photo MFTfebcolorchallenge1.jpg

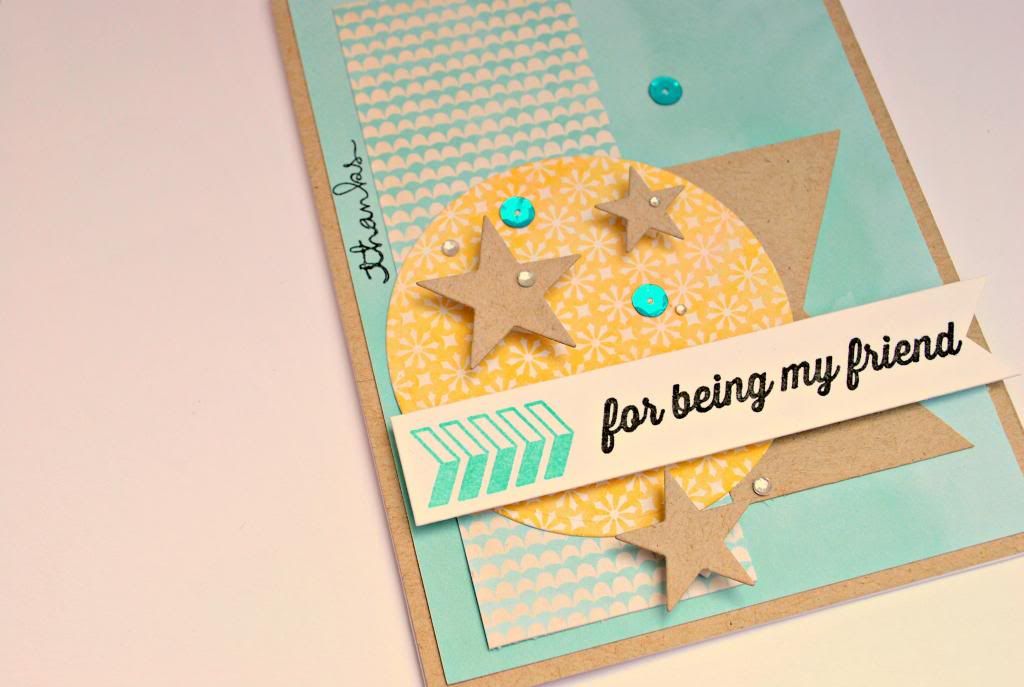
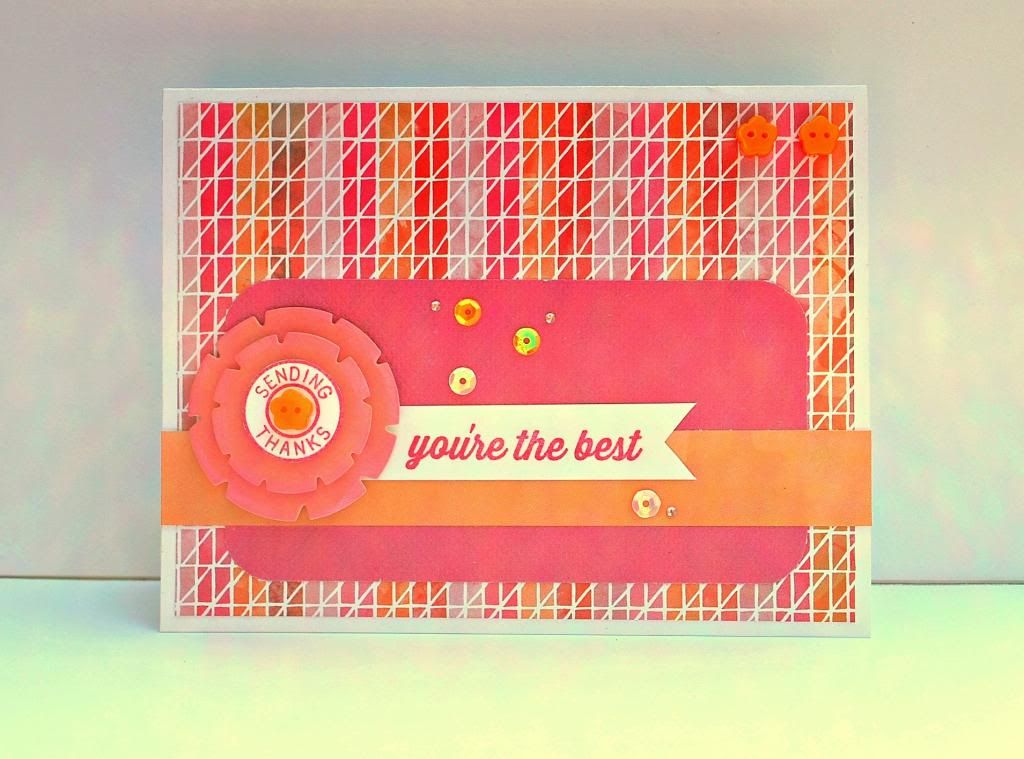
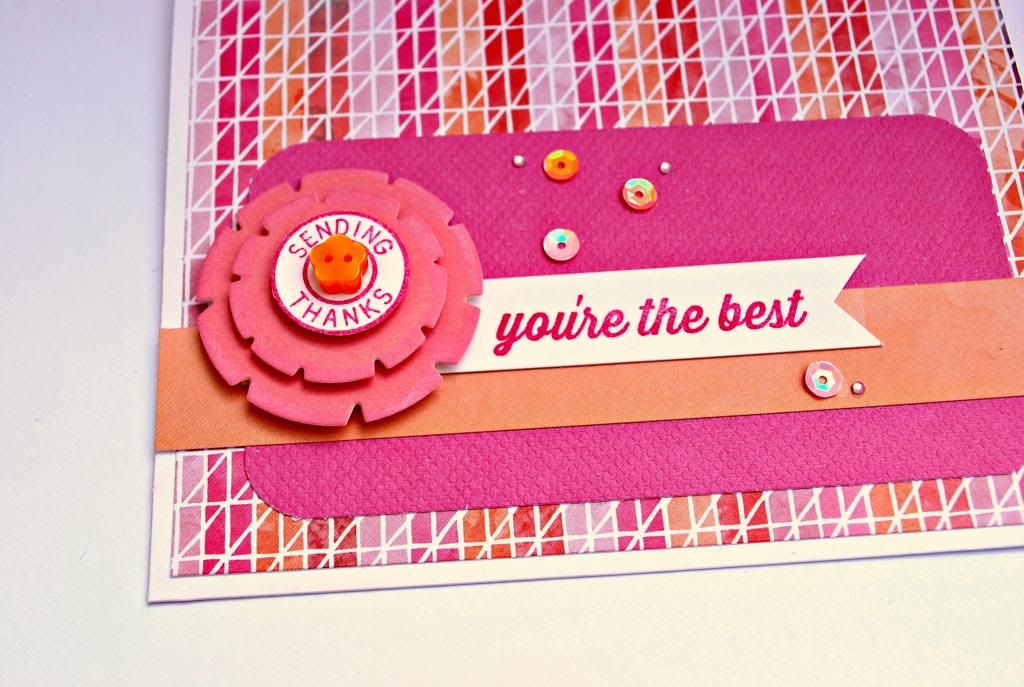
 I used My Favorite Thing's Sending Thanks sets for both my cards today. It's a favorite sentiment set of mine. The patterned paper is from My Mind's Eye and I used MFT's Die-namics Stacking Star dies and some sequins and bling.


 photo MFTfebcolorchallenge2.jpg


Next up is the February Sketch Challenge


Here's my take


 photo MFTsketchchallengeFeb.jpg

For this card I used paper from  Basic Grey's Fresh Cut collection, My Favorite Things Sending Thanks stamp set, flower dies, Recollections buttons and sequins and bling.

 photo MFTsketchchallengeFeb1.jpg


Yes I know, I have fully embraced the sequin trend. I can't help it! I love all the colors and Ebay is a great resource for purchasing a variety of colors at great prices.

Thanks for stopping by to have a look at my creations today!

Have a creative day!

{S}

Albums Made Easy Monday

Monday, February 17, 2014

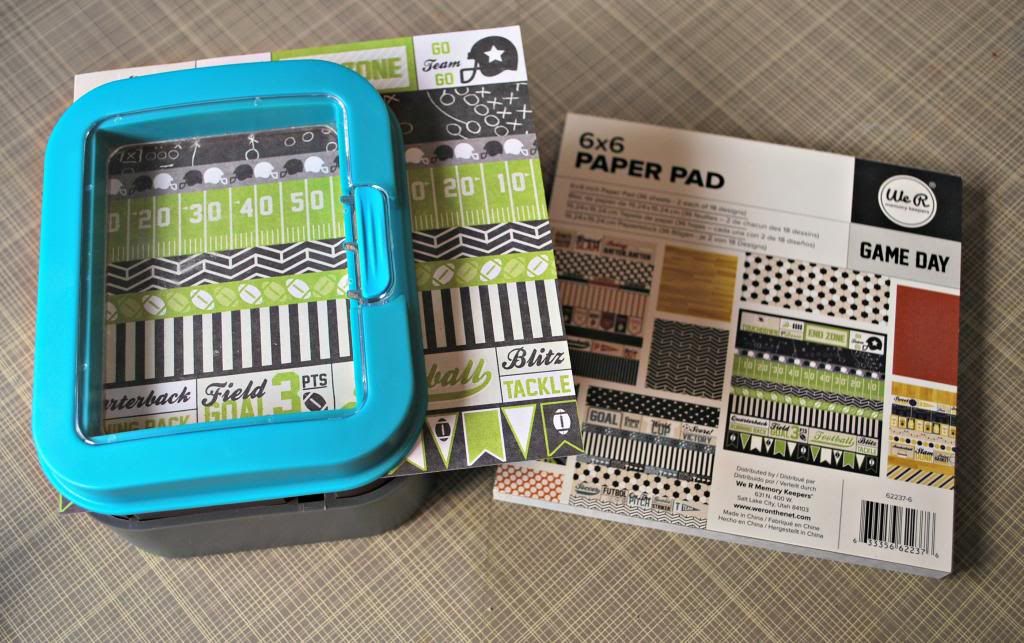
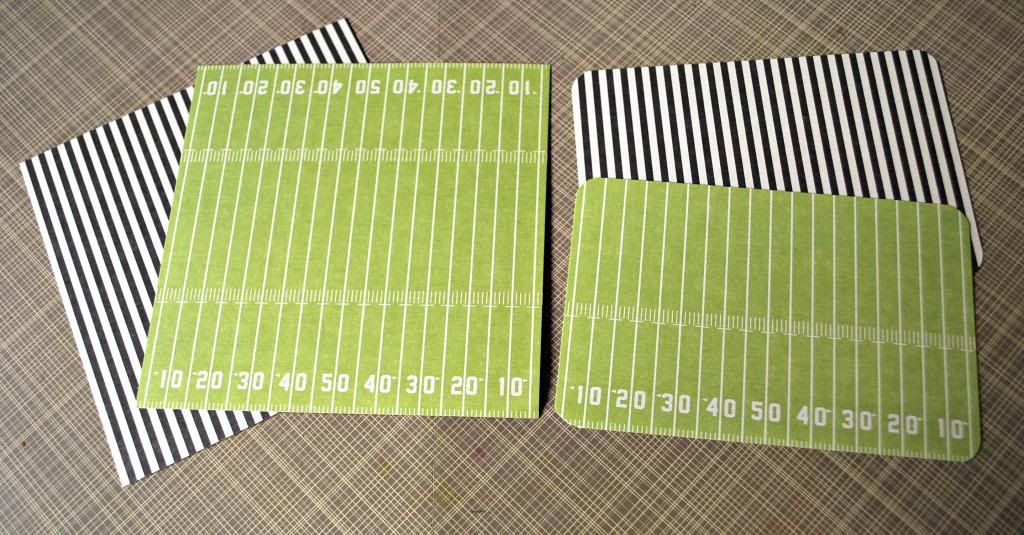
Hello friends. Today I wanted to share a little inspiration using We R Memory Keepers 3x4 punch for creating your own inserts for the Albums Made Easy pages. Today I'm creating with our new winter CHA release Game Day.


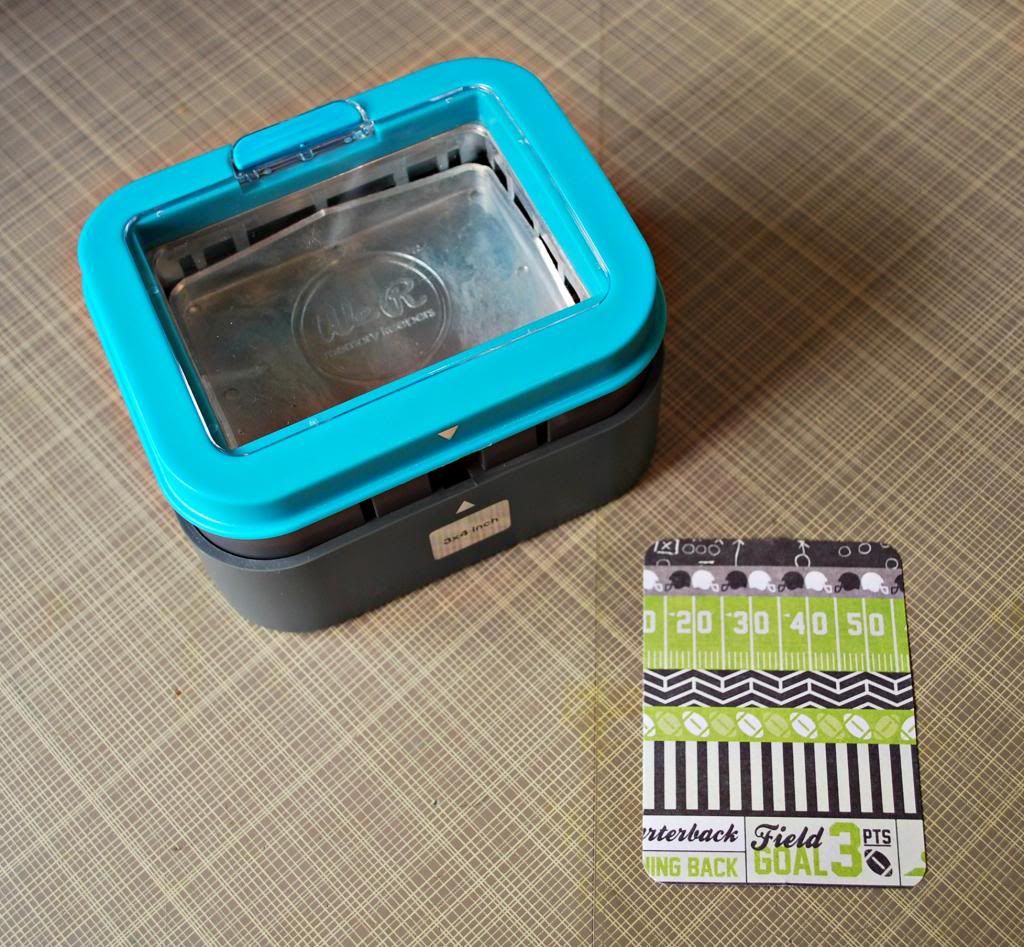
I love our 6x6 patterned paper pads that come with each of the We R collections. Sometimes I like using the smaller patterns in them for my AME pages. The 3x4 punch is perfect for cutting them into size for me as well as my photos.


 photo AMEPUNCH.jpg

The top is easy to pull of because it has magnets.  I can lay my cardstock over the metal punch and then secure the lid easy because the magnets pull it into place.

 photo AMEPUNCH2.jpg

 
Now I can easily move the paper where I want it to punch.


I push down on the top and the 3x4 card is punched out. You can open the window to retrieve your 3x4 card or remove the entire top.

   photo AMEFeb17a.jpg 

Now you're asking "what about the 4x6 sizes?" For those I cut the cardstock at 4x6 with my paper trimmer and use the Corner Chomper to round the corners. The 3/8 radius is the closest to the AME inserts.


Corner Chomper (1/8"Radius and 3/8"Radius)


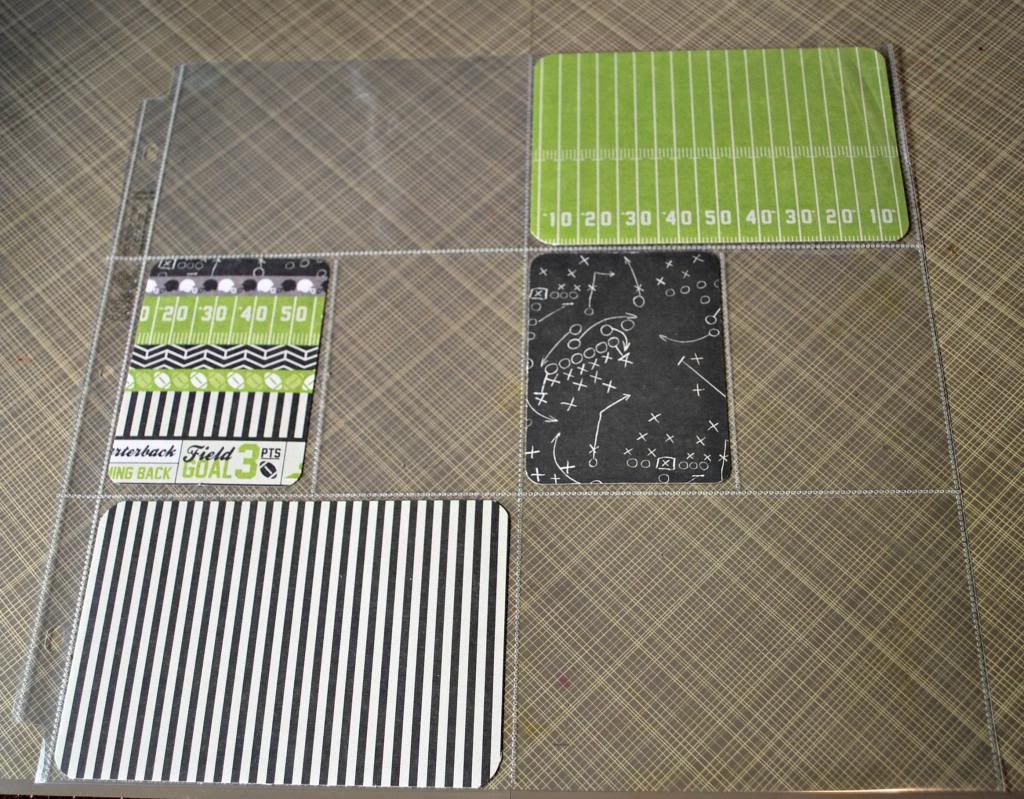
  Now you are ready to slide them into an Albums Made Easy page.


 photo AMEFeb17b.jpg


I arrange the inserts to where I want them and I am now ready to add my photos. I used the same Corner Chomper to round the corners of the 4x6 images and 3x4 punch for the smaller images.

 
 photo AMEFeb17.jpg

  Now I am ready to add my own style to my layout by adding some stamped images and embellies.

Come back next for week for a look at the finished page.

I'm thrilled to offer some of the Game day Albums Made Easy inserts. Leave a comment to be entered to win!

I apologize to my International readers, but due to increased shipping costs I am unable to ship prizes outside of the US.** 


Have a creative day!

{S}

Stamp of the Week Sunday

Sunday, February 16, 2014

Hello friends. Hope your weekend has been nice and relaxing. My kids are out of school Monday so I am looking forward to the extra day. We'll see how much crafting I am able to get done...


So it's time for another Unity Stamp of the Week reveal! This week's stamp is a fun one!


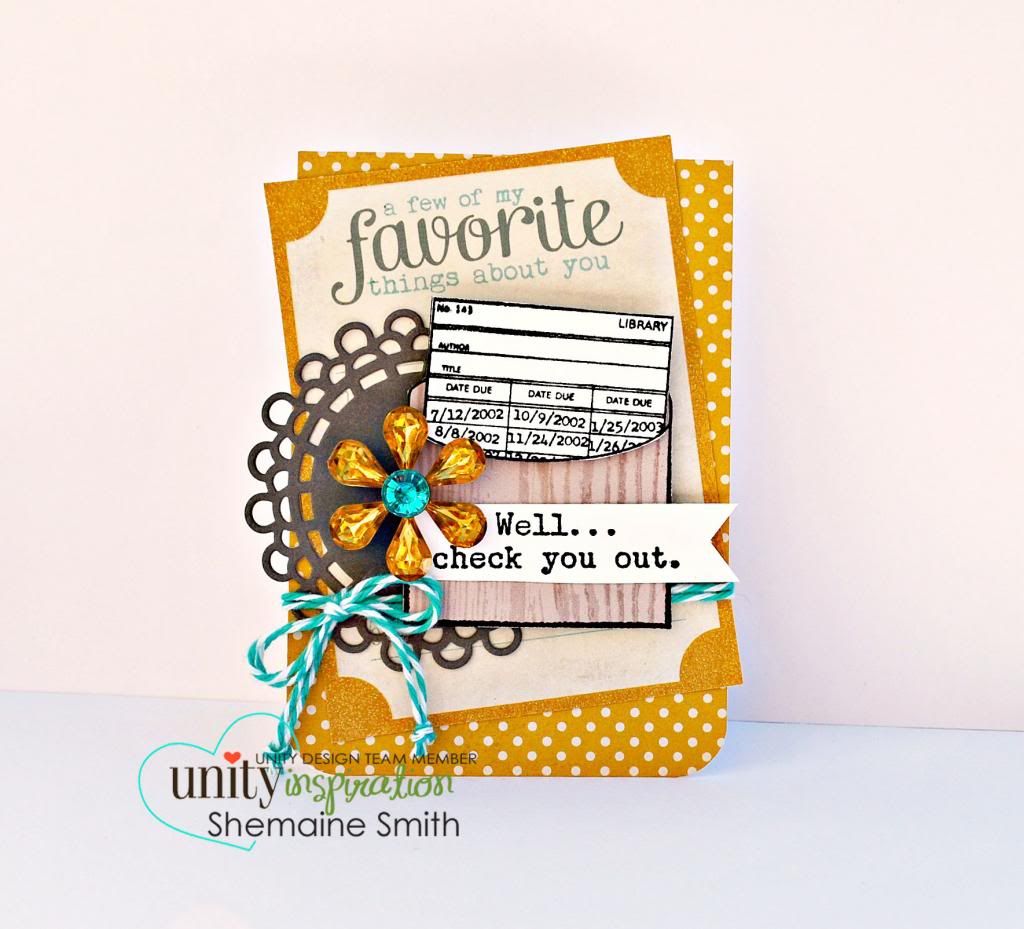
{Well...check you out.}


Here's what I made to share this week.
 photo SOTW111UW.jpg

I used a cardstock stack from Recollections called Today, Tomorrow, Forever. The blingy flower was from the $1.50 bin at Michaels as well.


For more creative inspiration make sure you visit Unity's Stamp of the Week Pin Board over at Unity's Pinterest page.  Now you only have one week to claim this cuteness for your own. 
Hurry over to this page to find out how you can sign up to have some Unity Happy Mail in your mailbox each week!


I hope you find something crafty to do today!

Thank you for stopping by.

{S}

Inking your Anna Griffin dies: Responding to some questions some of you had.

Wednesday, February 12, 2014

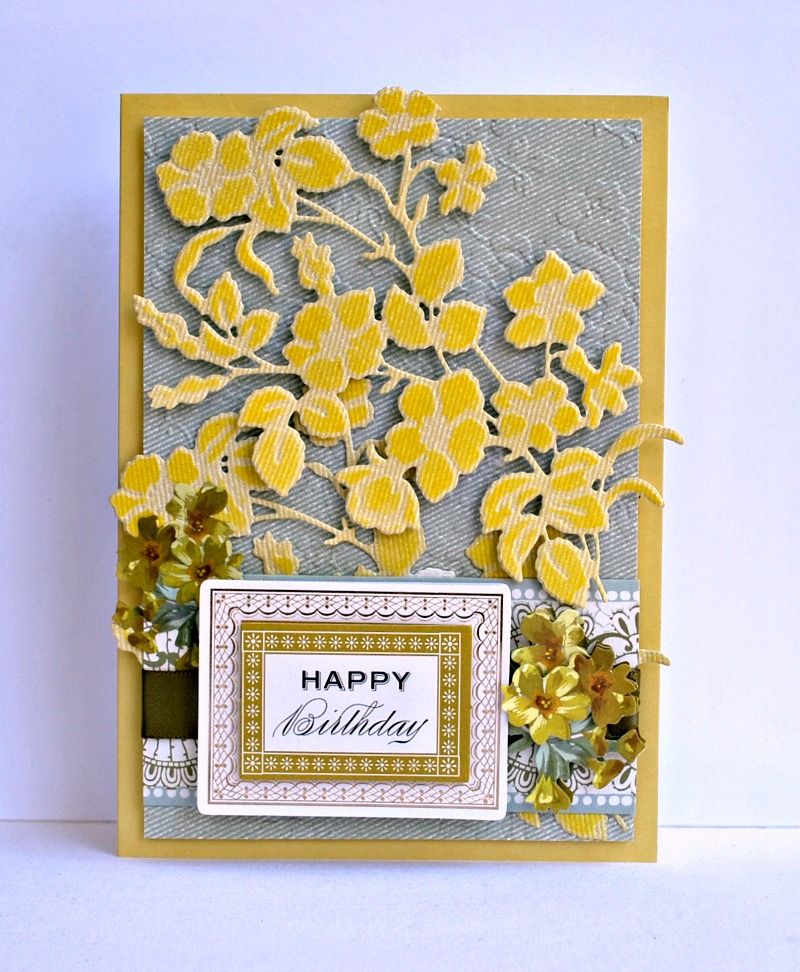
Hello friends. I had a couple of questions in the comments about how I added ink to one of my samples I created with Anna Griffin's Cuttlebug Cut and Emboss Dies kit: floral.
I looked back thru my images and found that I had snapped some photos of how I achieved this look.

 photo ShemaineFloraldies6.jpg


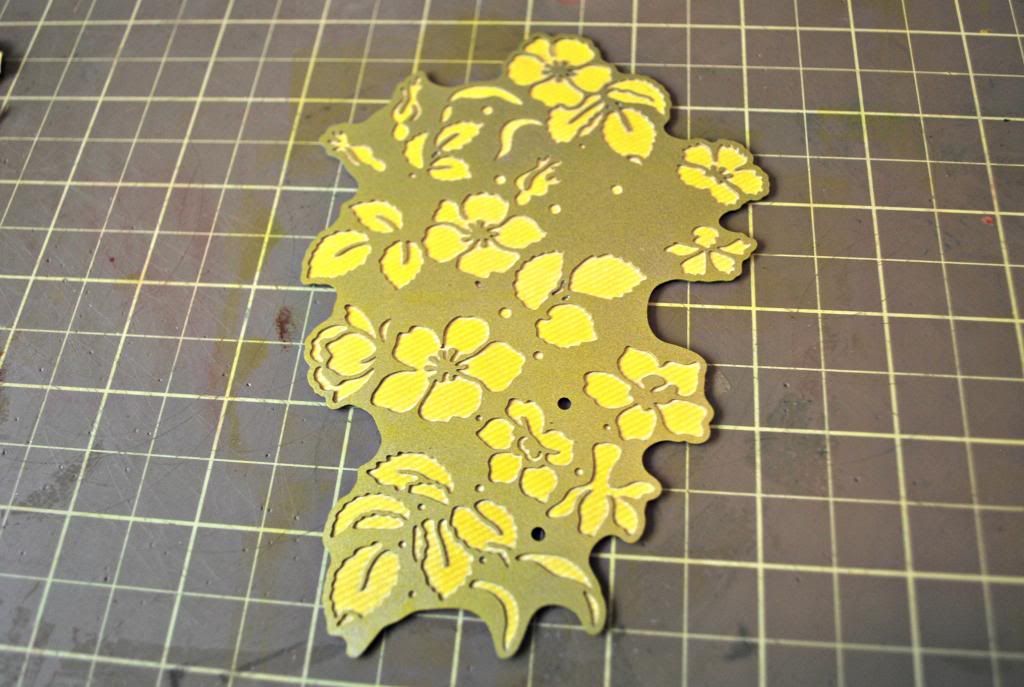
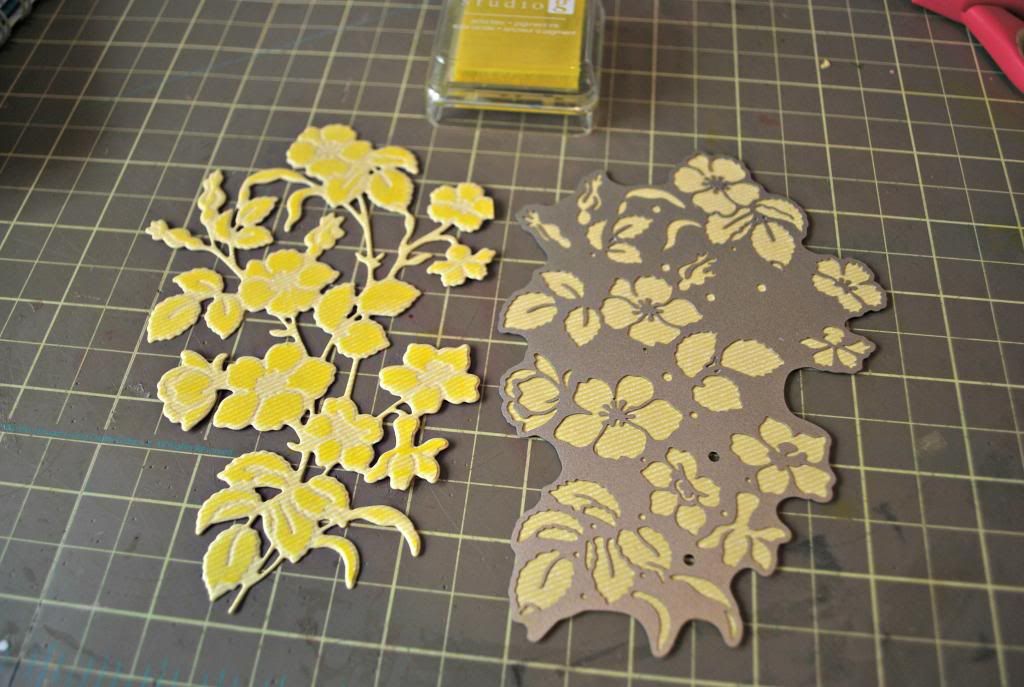
I cut and embossed the yellow shade of patterned cardstock in Anna's Perfect Palette Card Making kit. Then I used a darker yellow shade of pigment ink to ink the exposed cardstock thru the die.


They key to achieving this technique is to go tone on tone but use a slightly darker shade of pigment ink. Make sure you cover all the exposed cardstock with ink. When I am finished, I wipe my dies clean with baby wipes.

 photo DieDemo1.jpg


 Here's a finished sample and one ready to be inked side by side so you can see the end result.


 photo ShemaineFloraldies2.jpg

Here's another example of the same die but with Anna's fresh tints ink pads (cream). If you want a subtle look like this card then use chalk inks. I still stayed with the tone on tone look using cream cardstock and the cream ink pad. Anna's inks are really beautiful and apply very well!

Thanks so much for your comments! I hope this answered any questions you had about this technique. I love hearing from you, so don't be shy if you are wondering how something was created. Just leave me any questions in the comments and I'll do my best to respond as quickly as possible.

Thanks again for visiting my blog and taking the time to leave your comments!

Have a creative day!

{S}

Creating for fun Tuesdays: February's Simon Says Stamp Card kit

Tuesday, February 11, 2014

Hello friends! I am trying to have a little more creative fun aside from my weekly assignments by starting my creating for fun Tuesday posts. I love my Card Kit Sub from Simon Says Stamp.

Here's a look at the February Card kit from Simon Says Stamp


Here's a couple cards I made with the kit.

 photo SSSMarch1.jpg


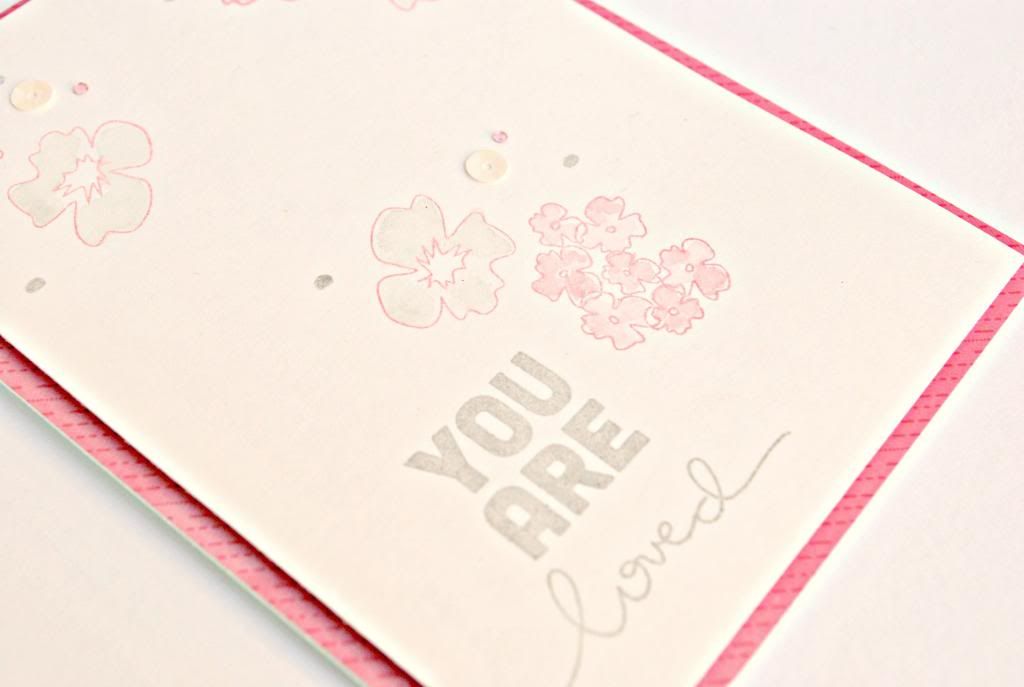
I used a Heidi Swapp mask and some Color Shine mist and then stamped my sentiment, added some sequins and hot pink bling.


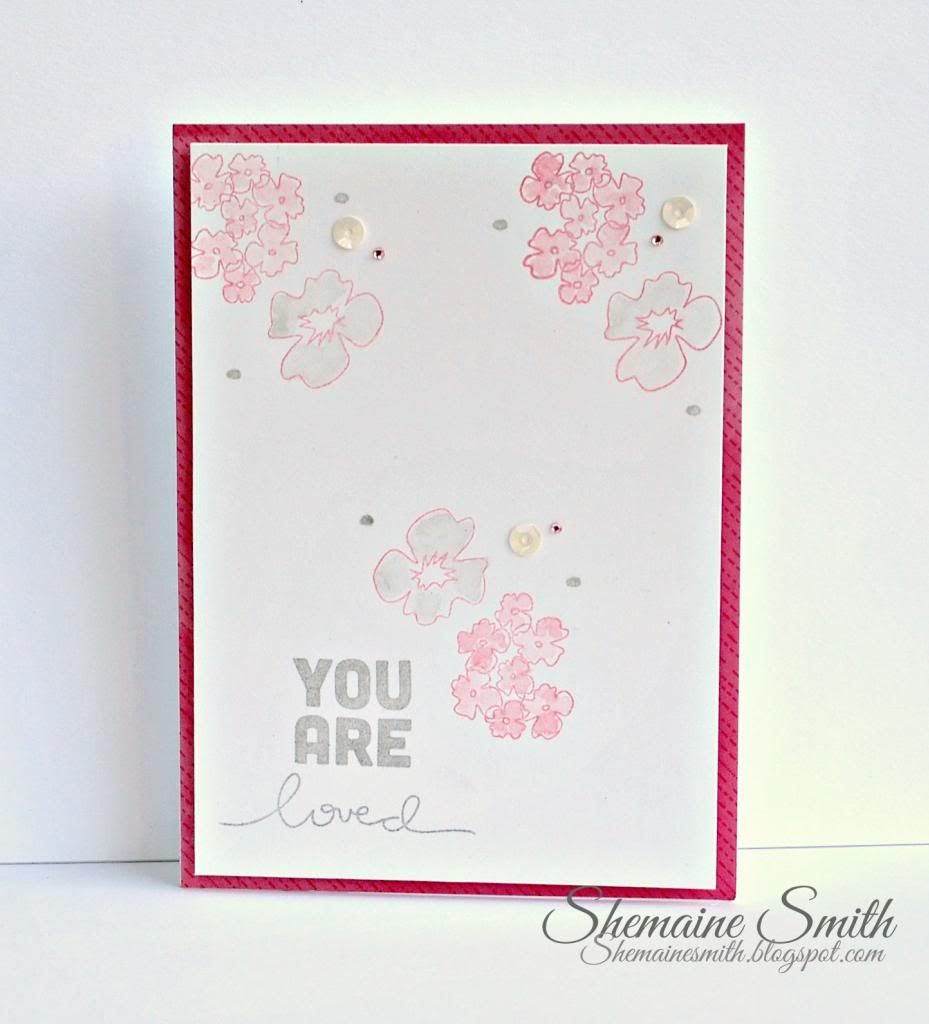
For this card I stamped the images in pink and grey and then used a water color pen to color the flowers in with same inks. I am loving the sequin trend so I added some here too.

Here's a closer look

   photo SSSMarch2b.jpg

Sorry for the washed out photos. It's been really overcast so I am not getting the best pics outside and I don't have a good natural light option inside my apartment. City living...

Thanks for stopping by and having a look at my Simon Says Stamp Card kit cards.

Have a creative day!

{S} 

Stamp of the Week Sunday

Sunday, February 9, 2014

Hello friends. I hope you are having a wonderful weekend so far. It's time for another Unity Stamp of the Week reveal.


Bouquet Bunch of Thanks


Here's what I created with this week's image.

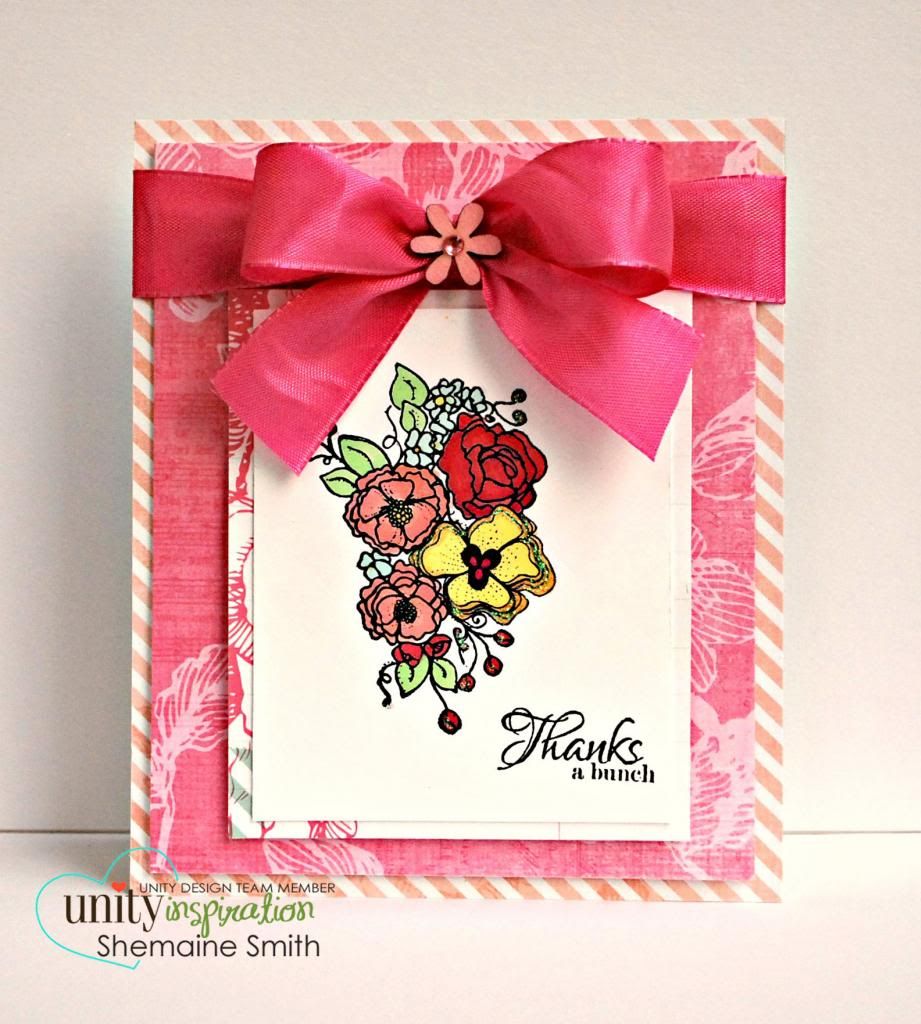
 photo SOTW110uw.jpg

Supplies: Heidi Swapp Hello Today paper collection, pink ribbon and wood accent.


For more creative inspiration make sure you visit Unity's Stamp of the Week Pin Board over at Unity's Pinterest page.  Now you only have one week to claim this cuteness for your own. 
Hurry over to this page to find out how you can sign up to have some Unity Happy Mail in your mailbox each week!

I hope you find something crafty to do today!

Thank you for stopping by.

{S}

Albums Made Easy Monday

Monday, February 3, 2014

Hello friends! It's another Albums Made Easy Monday and today I am bringing you some inspiration for creating with you AME inserts.
Sometimes I like to mix in a 12 X 12 layout with my Albums Made Easy pages like I shared last week.
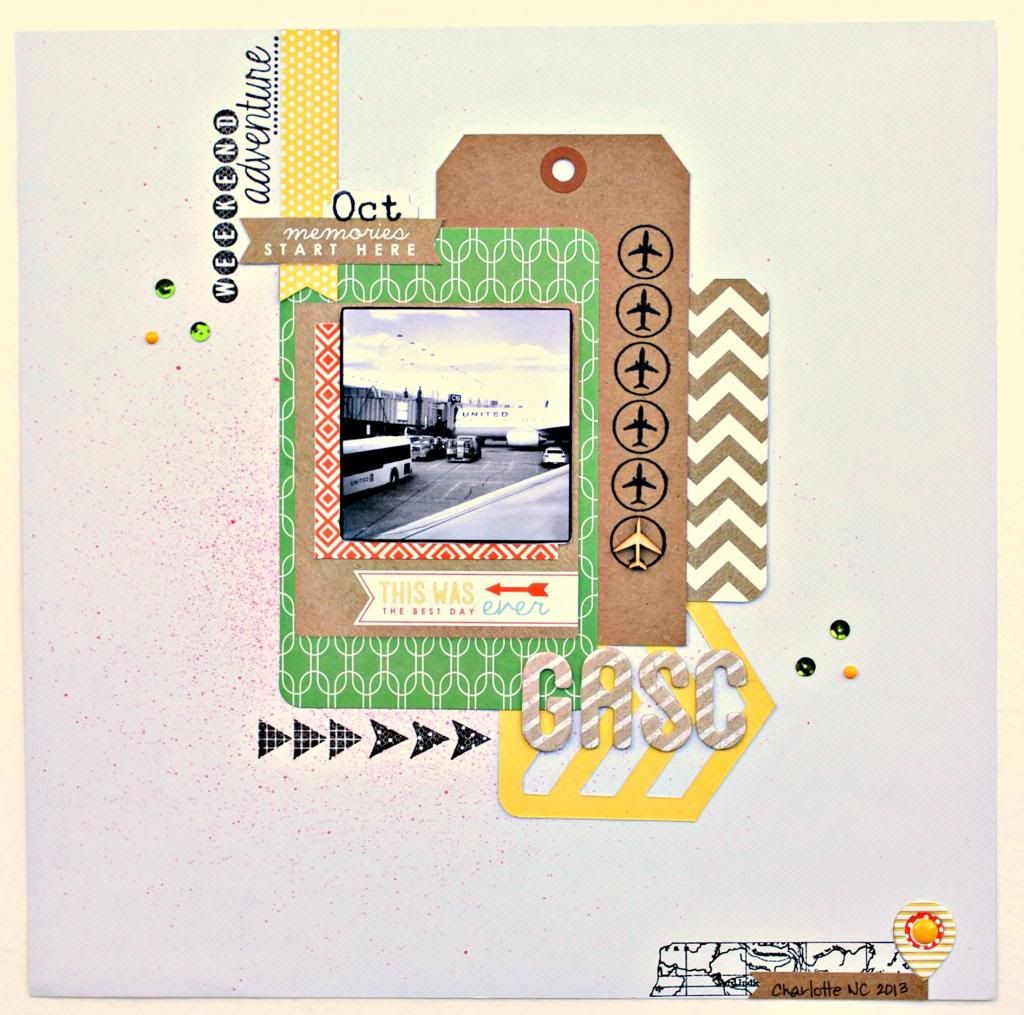
Today I am taking it a step further and sharing a page made with Albums Made Easy inserts and my SMAK kit images from Unity Stamp Co.


 photo AMEFeb3.jpg


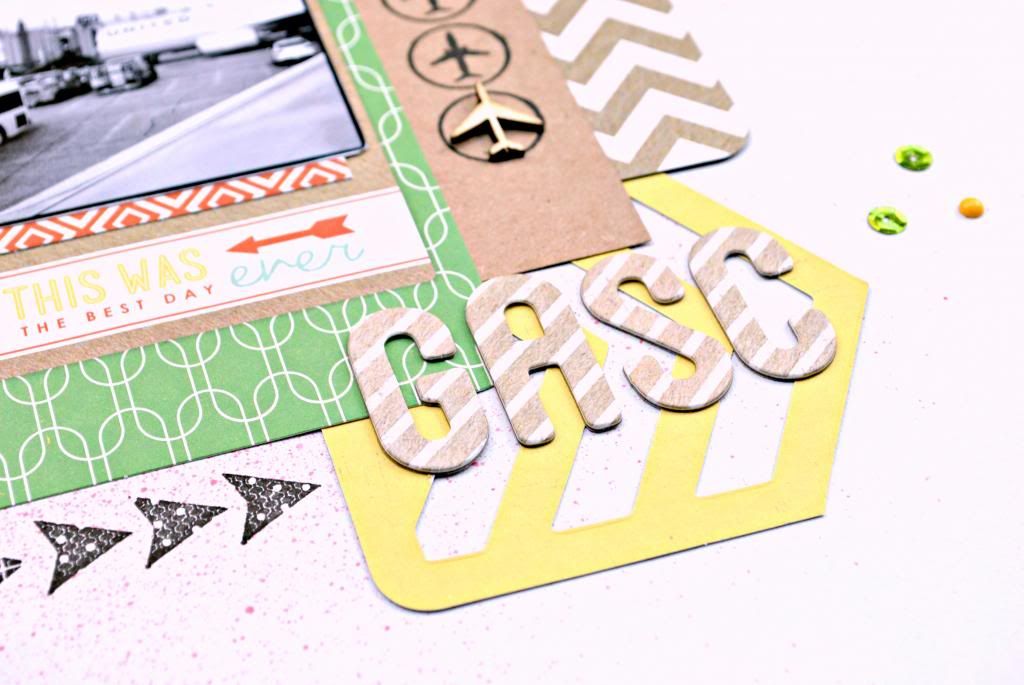
I used a 4x6 insert for the main focus and to frame the photo. Next I added the tag and stamped the airplanes image onto the tag.

 photo AMEFeb3a.jpg


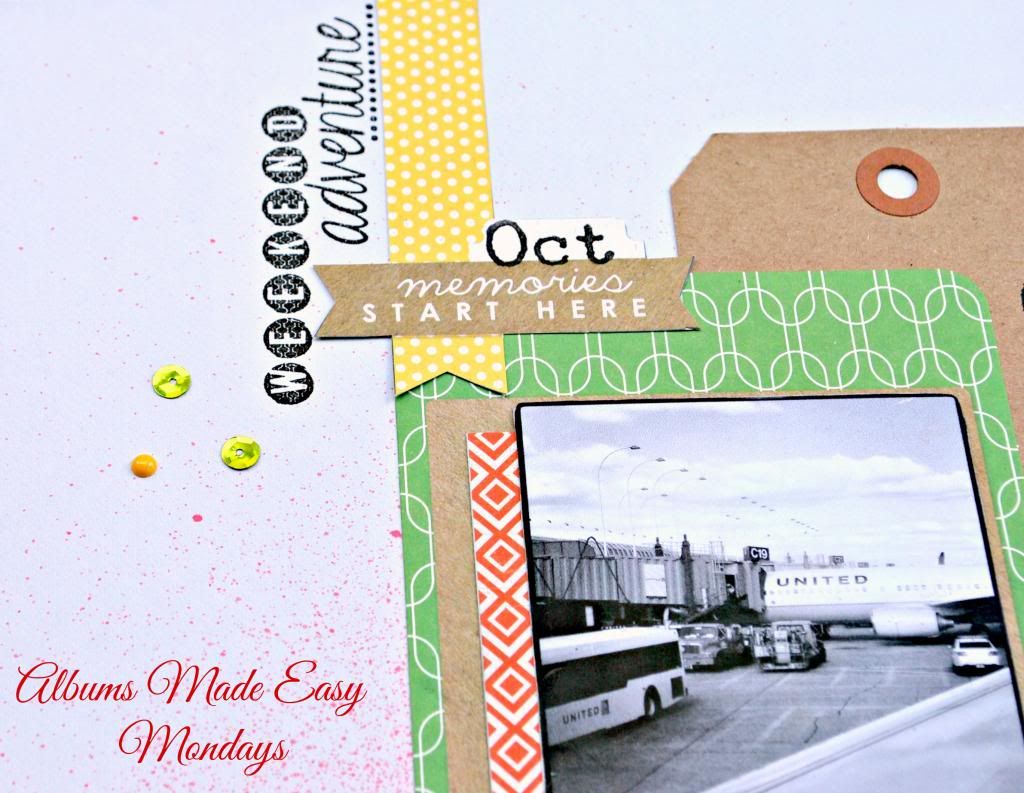
Don't be afraid to fussy cut images from your photo inserts and use them in your layouts. I don't typically scrap one photo layouts but it seemed appropriate for today's design. Scrapbooking should be what you are feeling. The way you want to express your photos and memories. Don't forget that.


 photo AMEFeb3b.jpg


I love using stamped images to create with. The January SMAK kit, Adventure was perfect  for my layout today.


Thanks for stopping by for today's Albums Made Easy Monday
.
I hope you'll be inspired to use your photo inserts with your cards and layouts.

Have a creative day!

{S}


Stamp of the Week Sunday

Sunday, February 2, 2014

It's Super Bowl Sunday! I must admit, I am not much of a football fan but my hubby sure is. So I indulge his passion and cook up the goods so he can enjoy the game here at home. Now Seahawk fans please don't hate on me for rooting for Denver today. It's not really Denver I am supporting (I know Tenia, we're not friends anymore huh) LOL... but rather Peyton Manning. I really admire those Manning boys and their family legacy of great football players. I also admire the love they have for eachother. At the core of everything, it's family that really matters you know...so Go Peyton!

It's also time to reveal a new Unity Stamp of the Week!

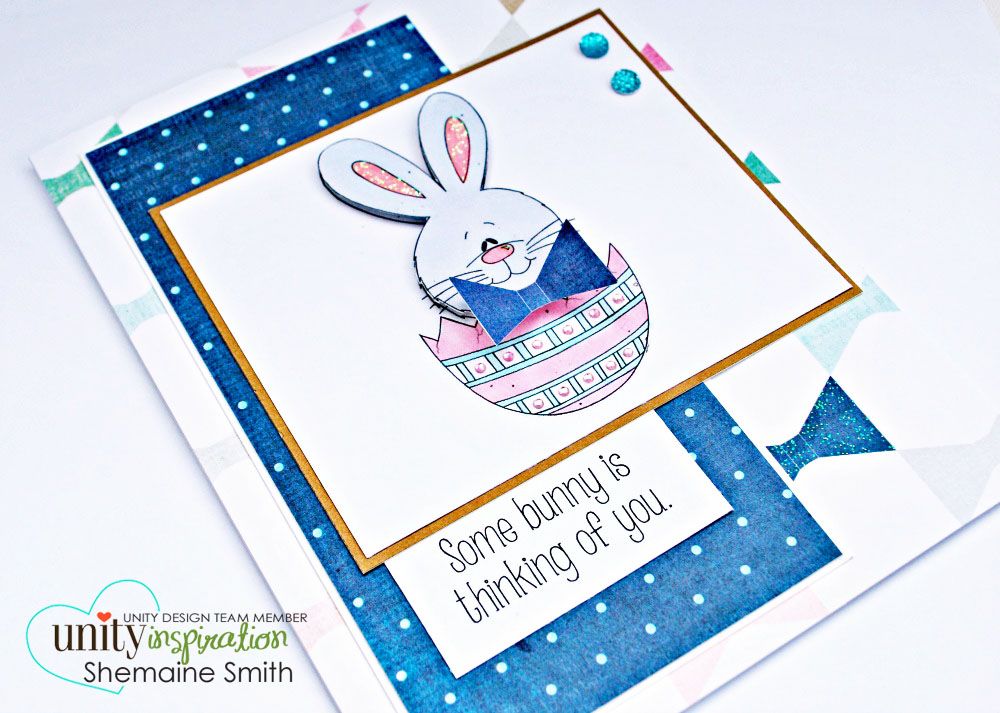
{Some Bunny Thinking of You}


Here's what I created using this week's super cute image!

 photo SOTW109UW.jpg


I used paper from the Heidi Swapp Hello Today collection and gave him a little bow tie.
He's just too cute!

For more creative inspiration make sure you visit Unity's Stamp of the Week Pin Board over at Unity's Pinterest page.  Now you only have one week to claim this cuteness for your own. 
Hurry over to this page to find out how you can sign up to have some Unity Happy Mail in your mailbox each week!

I hope you find something crafty to do today in between the big game!

Thank you for stopping by.

{S}
 
site design by designer blogs