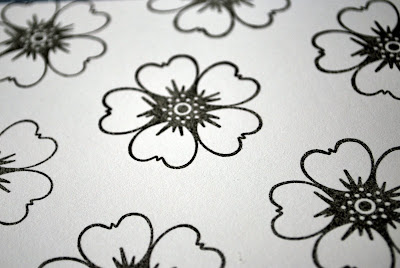
There are many of scrapbookers who are afraid to use stamps with their layouts or cards but if you take the leap, the result can be beautiful!
So let's start by showing you what you need to stamp with the Snag 'em stamps
A clear 2x2 acrylic block like this one from Close To My Heart works great or any acrylic block will hold your Imaginisce stamp from the To Love & Cherish collection.
Next I like to use Versafine Black Onyx ink from Versamark. It really picks up the fine details in the stamps you use.
When you first get a brand new acrylic stamp it's best to rub the stamp lightly with an eraser like the one on a regular pencil. This will ensure that when you stamp your images they don't leave a beaded look when you stamp them on the paper.
Next you just start stamping your image and just using the eye to spacing. I like to stamp on a thin foam pad. It ensures that the stamped image is evenly distributed on the paper. You can find this foam in any store that carries packing supplies.
One of the benefits of using the foam is that you can stamp your image
And then wipe it away with a baby wipe. When you use paper under paper then you waste a piece of good paper.
Now that you've created a wallpaper of flowers on your card stock, it's time to emboss the image. I use clear embossing powder but it you wanted to image to be really black you could use black embossing powder. I keep my embossing powder in a sandwich storage container and use a spoon to sprinkle it over my image and then tap the excess back into the container. This method is virtually mess free.
Now that your stamped images are covered in embossing powder it's time to get out your heat tool.
I made this embossing pad from tin foil and a piece of cardboard after I warped my 12x12 cutting mat that is not designed for heat. It's cheap and easy to make and I reinforced the edges with Japanese masking tape because it takes heat emboss too.

Now most important is that you clean your stamps after you are done stamping. If you do this your stamps will stay clear longer. I use baby wipes to clean my stamps but you must make sure you buy the wipes without lanolin in them.


6 comments:
Your card is so cute! I love the black and white!
those are great tips! TFS!
Great use of the stamp! Loved it!
thank you for showing us how you created the card. It is lovely!
Love all your tips, especially the one about cleaning the stamps with baby wipes. Great project!!!
Superb card. Thanks for the tip about stamping on the foam and using a pencil eraser on a new stamp!
Post a Comment